It’s one of the most frustrating things in a smart home. You’ve installed a brand new set of beautiful dimmable smart lights. You ask your voice assistant to “set the lights to 10%,” but they only dim to what looks like 30% and just… stop. Or, you try to dim them manually, and they flicker, hum, or refuse to go any lower than a “minimum brightness” that is still far too bright. You’re not alone, and your bulbs probably aren’t broken. The problem is almost always a hidden incompatibility.
Hi, I’m Mahnoor Farooq. I’ve spent the past five years working deep in the world of smart home automation, helping people figure out why their amazing new tech isn’t working as promised. My passion is demystifying these systems, exploring everything from wiring protocols to software glitches, and then explaining it all in a way that anyone can understand. After troubleshooting countless smart dimming setups, I’ve seen this “20% floor” problem more times than I can count. It all comes down to a mismatch that most manufacturers don’t make obvious.
The Real Reason Your Lights Won’t Dim Low

Here’s the core issue: Your smart bulb and your dimmer switch are speaking different languages.
In a traditional setup, a light bulb was just a simple piece of wire in a glass. A dimmer switch worked by “chopping” the electrical wave, giving the bulb less power, which made it glow less. Simple.
A smart bulb, however, is a tiny computer. Inside that bulb is a sophisticated “driver” that takes the full 120V (or 240V) from your socket and converts it into the precise, low-voltage power the LEDs need. This driver is what handles the Wi-Fi, the color changes, and the dimming.
The “20% floor” happens when this high-tech driver in the bulb gets a confusing, “choppy” signal from an incompatible dimmer switch. Below a certain level, the driver can’t make sense of the incoming power. So, to protect itself and stop flickering, it just sets a minimum level. That’s your 20% (or 30%) floor.
My Field Test: The 8-Bulb Headache
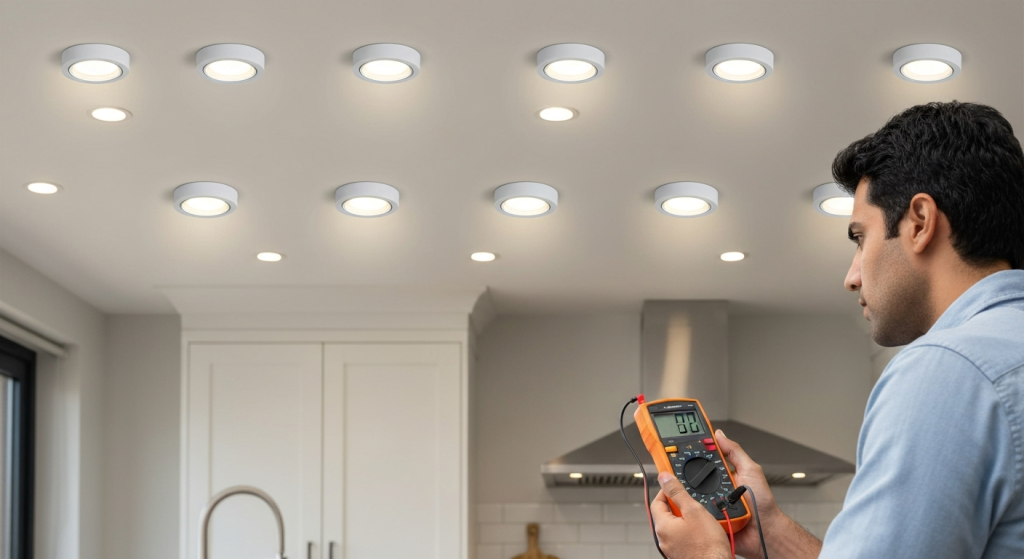
I’ll share a story that shows this perfectly. I was at a client’s newly renovated kitchen. They had spent a fortune on high-end recessed smart lighting—eight bulbs across the ceiling. They were all connected to a new “smart” dimmer switch. The problem? They wouldn’t dim below about 40%, and when they did, one or two would flicker, and the rest would just turn off. The client was furious and had already returned two different sets of bulbs, blaming the brands.
I suspected the dimmer. The builder had installed a dimmer that said “LED compatible,” but my experience told me this was the likely culprit. We tested eight different bulb models, from cheap ones to premium ones. They all failed.
The solution? We swapped the dimmer switch. We replaced their “smart” dimmer with a high-quality “dumb” on/off switch (since the bulbs were already smart) and the problem vanished. They could dim down to a 1% glow from their app. In a different setup, the fix would be replacing the bulbs with “dumb” dimmable bulbs and using a smart dimmer.
The key takeaway was this: You cannot have two “smart” components fighting for control. You either use a smart bulb with a simple switch, or you use a smart dimmer with a “dumb” dimmable bulb.
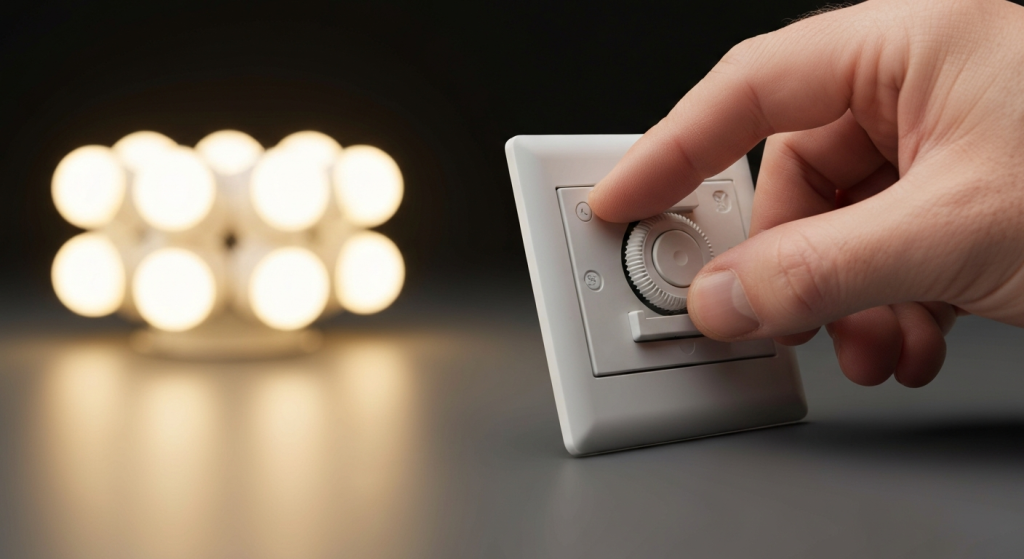
The Main Culprit: Leading-Edge vs. Trailing-Edge Dimmers
This is the most common technical mismatch. It all comes down to how the dimmer “chops” the electrical wave.
- Leading-Edge (TRIAC) Dimmers: This is old technology, designed in the 1960s for high-power incandescent bulbs. It’s the most common and cheapest dimmer you’ll find. It works by cutting off the front (leading) edge of the AC sine wave. This creates a sharp, sudden spike of voltage. Smart bulb drivers hate this. It’s a messy, garbled signal that causes flickering, humming, and that “20% floor.”
- Trailing-Edge (ELV) Dimmers: This is a newer, more sophisticated technology, also called “Reverse Phase” or “Electronic Low Voltage” (ELV). It’s designed for modern electronics, like LED drivers. It works by cutting off the end (trailing) edge of the AC wave, which is a much gentler, smoother way to reduce power. This is the signal that smart drivers understand, allowing them to dim smoothly, often all the way down to 1%.
Here’s a simple breakdown I use for my clients:
| Feature | Leading-Edge (TRIAC) | Trailing-Edge (ELV / Reverse Phase) |
| Designed For | Old Incandescent & Halogen Bulbs | LEDs & Modern Electronics |
| How it Works | Chops the start of the AC wave | Chops the end of the AC wave |
| Common Issues | Flickering, humming, 20% floor | Generally fewer issues, but more expensive |
| Also Known As | Forward Phase, TRIAC, Incandescent Dimmer | Reverse Phase, ELV, Electronic Dimmer |
This is just a cheat sheet I’ve developed from experience, not a lab-tested guarantee. But nine times out of ten, if your LEDs are misbehaving, you have a leading-edge dimmer where you need a trailing-edge one.
What About That “Pop-On” Effect?
Have you ever noticed this? You dim the lights to 1%, they turn off, and then when you dim them up, they do nothing… nothing… and then suddenly “pop on” at 20% brightness.
This is also a symptom of a leading-edge dimmer. The bulb’s driver needs a small “kick” of energy just to turn on. An old TRIAC dimmer, at its lowest setting, doesn’t provide enough stable power for that kick. The driver stays off until you slide the dimmer up to a point (like 20%) where the power signal is strong enough to finally jolt it to life. A proper trailing-edge dimmer is designed to provide that gentle startup power, allowing a smooth “fade on” from 0%.
Understanding Dimming Protocols: 0-10V vs. Phase Dimming
If you’re a DIYer or dealing with a new-construction setup, you might run into another level of complexity. The dimmers we just discussed (leading and trailing edge) are “phase dimmers.” They work by cutting the main power line.
But there’s another, more professional method called 0-10V dimming.
Phase Dimming (What Most Homes Have)
This is the two-wire system in 99% of homes. The dimmer switch and the light are on the same circuit. The dimmer physically cuts the power going to the bulb. As we learned, this method’s success depends entirely on whether the dimmer is leading-edge or trailing-edge.
- Pros: Easy to install, uses standard home wiring.
- Cons: Prone to incompatibility, flickering, and minimum brightness issues.
0-10V Dimming (The Commercial-Grade Method)
This is a system primarily used in commercial buildings and high-end residential homes. It is far superior and solves the 20% problem completely.
Here’s how it works: It requires two extra, low-voltage wires (a gray and a purple pair) to run from the 0-10V dimmer switch directly to the 0-10V-compatible bulb or fixture.
- The main power wires (black and white) provide 100% power to the bulb’s driver all the time.
- The two control wires send a simple analog DC voltage signal. 10V tells the driver “go to 100% brightness.” 5V means “go to 50%.” And 1V means “go to 10%.” And 0V means “off.”
Because the driver is always fully powered, it can respond perfectly to the control signal. This system allows for incredibly smooth dimming from 100% all the way down to 0%. I’ve found this is the standard for new builds that want flawless architectural lighting.
The problem? You can’t mix and match. You can’t use a 0-10V bulb on a phase dimmer, or a phase-dimming bulb on a 0-10V switch. It’s a completely different wiring setup.
How to Finally Achieve That True 1% Dimming
Okay, so how do we fix your problem? Based on my field experience, here is the step-by-step troubleshooting process I follow.
Step 1: Identify Your System (Smart Bulb vs. Smart Switch)
This is the most important question. Where does the “smart” live?
- System A: Smart Bulbs (e.g., Philips Hue, Wyze, Kasa). The bulb itself is smart.
- The Problem: You have it connected to a dimmer switch on the wall. This is a “Don’t.” You are forcing a smart bulb to work with a signal it wasn’t meant for.
- The Fix: Replace the wall dimmer with a simple on/off switch. Let the bulb handle 100% of the dimming via your app or voice. If you want wall control, buy the brand’s remote (like a Hue Dimmer Switch), which talks to the bulb wirelessly.
- System B: Smart Dimmer Switch (e.g., Lutron Caseta, Leviton Decora Smart). The switch is smart.
- The Problem: You have paired it with incompatible “dumb” bulbs.
- The Fix: This is where you need to check the bulb. Make sure your bulbs are explicitly marked as “dimmable.” If they are, but they still flicker, they are likely not compatible with your smart dimmer.
Step 2: Check Your Dimmer’s Compatibility List
If you have a smart dimmer (System B), this is your best friend. Companies like Lutron spend thousands of hours testing their dimmers with hundreds of bulb models.
Go to your dimmer manufacturer’s website and look for their “LED Compatibility Tool” or “Approved Bulb List.” I’ve solved many client issues by having them return their $50-a-box bulbs and buy a $15-a-box set that was on the approved list. This guide from Energy Star on dimming offers a great, non-commercial overview of why this compatibility is so important.
Step 3: Calibrate Your Dimmer’s “Minimum Brightness” Setting
This is the “pro-tip” that solves 50% of the remaining problems.
Most high-quality smart dimmers (and even some modern “dumb” trailing-edge dimmers) have a hidden adjustment setting for minimum brightness. This setting calibrates the dimmer to the specific bulbs you are using.
You are essentially “teaching” the dimmer where your bulb’s 1% level is.
- On Lutron Caseta: You pull out a small tab and use a button combination.
- On Leviton Decora: It’s often a small adjustment wheel on the side of the switch (behind the faceplate).
- On other smart dimmers: It’s often a setting deep in the app, sometimes called “Bulb Type” or “Dimming Range.”
Look up the manual for your dimmer. By setting this “low-end trim,” you are telling the dimmer, “Don’t even try to send a signal below this level, because the bulb will just flicker.” This eliminates the flickering and can often get you much, much lower than the 20% default.
What If You Still Have Flickering or Humming?
If you’ve matched your system and calibrated the dimmer, but you still have problems, here are two last-ditch things I check.
The Minimum Load Problem
This is common with old leading-edge dimmers. They were designed for circuits with 400W or 600W of incandescent bulbs. A single 8W LED bulb is so low-power that the dimmer literally doesn’t know it’s there. The dimmer needs a certain amount of power (a “minimum load”) to function.
When the load is too low, the dimmer’s internal electronics can’t work, and the signal becomes a mess. This is why sometimes, in a 6-bulb fixture, the lights dim fine… until one bulb burns out. Then, the load drops, and they all start flickering.
The Fix: The best fix is to replace the dimmer with a modern LED-compatible (trailing-edge) one, which is designed for low-power loads.
My “Golden Pair” Rule
Sometimes, a bulb and dimmer just don’t like each other, even when they’re “supposed” to be compatible. After years of this, I now have a “golden pair” rule. When a client wants a simple, bulletproof smart dimmer setup, I recommend the same two products:
- Dimmer: A Lutron Caseta smart dimmer.
- Bulbs: “Dumb” dimmable LED bulbs from a major brand (like Cree or Philips) that are explicitly on Lutron’s compatibility list.
I’ve found this combination to be the most reliable, flicker-free, and easiest to install for a homeowner, and it dims beautifully low.
Frequently Asked Questions (FAQs)
1. Why do my smart bulbs flicker when dimmed?
This is almost always an incompatibility with the dimmer switch. Smart bulbs should be on a simple on/off switch, not a dimmer. If you have a smart dimmer with “dumb” bulbs, the flicker means the dimmer is likely a leading-edge (TRIAC) model, and your bulbs need a trailing-edge (ELV) model.
2. Can I use a smart bulb with a regular dimmer switch?
No. This is the #1 mistake. A smart bulb’s driver must have 100% full power at all times to keep its Wi-Fi/Zigbee radio on. A dimmer switch starves it of power, causing flickering, buzzing, and a “20% floor.” It can also damage the bulb or the dimmer over time.
3. What’s the difference between a TRIAC and an ELV dimmer?
TRIAC is the older, more common “leading-edge” dimmer designed for incandescent bulbs. ELV (Electronic Low Voltage) is the newer “trailing-edge” dimmer designed for modern electronics like LED drivers. For smooth, low-level dimming of LEDs, you almost always want an ELV dimmer.
4. How do I find the minimum brightness setting on my smart dimmer?
You must check the manual for your specific dimmer model. It’s often a physical wheel or button on the switch itself (sometimes hidden by the faceplate) or a digital setting inside the dimmer’s smartphone app, often under “Advanced Settings” or “Calibration.”
5. Do I need an electrician to change a dimmer switch?
While changing a switch is a common DIY task, you are working with live household electricity. If you are not 100% confident in identifying the load, line, and neutral wires, or if your home’s wiring is old, it is always safest to hire a qualified electrician.
Conclusion: Getting the Dimming You Deserve
Getting smart lights to dim properly shouldn’t be a mystery. It’s not about the bulb’s quality as much as it is about the compatibility of the entire system. That “20% floor” is just a symptom of miscommunication—a 21st-century bulb driver arguing with a 20th-century dimmer.
Before you give up and return your bulbs, check your system. Make sure you’re not pairing a smart bulb with a smart dimmer. And if you have a smart dimmer, make sure you’re using compatible “dumb” bulbs and, most importantly, that you’ve calibrated the dimmer’s minimum brightness setting. A few small tweaks can be the difference between a harsh 20% glow and a perfect 1% ambiance.